الموضوع بالانجليزية
لترجمة الموقع :
[ندعوك للتسجيل في المنتدى أو التعريف بنفسك لمعاينة هذا الرابط]Embroidering and Assembling a Free Standing Lace Bowl
Assembling a FSL Bowl
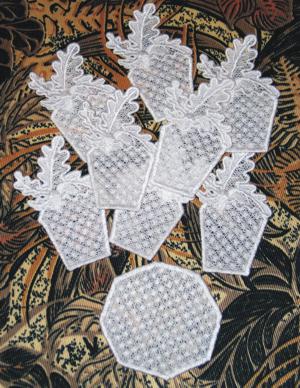
As an example, we used the Acorn Bowl
.
Step One: Hoop two layers of water soluble Vilene stabilizer. Embroider the designs one by one. To get two-sided embroidery, use the same thread for the upper thread and the bobbin thread. Dissolve the stabilizer, and leave to air dry.
If you work with organza bowls, such as our Organza Bowl and Doily Set, hoop one layer of organza and 2 layers of water soluble Vilene stabilizer. Embroider the designs one by one. Cut away the excess organza and stabilizer. Dissolve the stabilizer and leave to air dry.
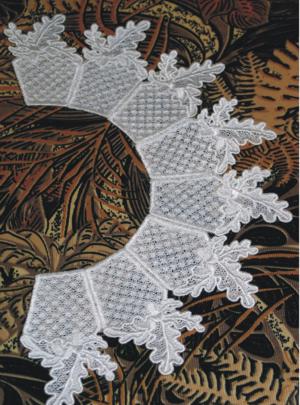
Step Two: Start assembling the bowl. Take two panels and press them with steam. Align the side edges and zigzag them together. Use monofilament invisible thread.
Step Three: Take the third panel, press it with steam and zigzag it to the first two panels. Connect all 8 panels in this way. Do not stitch the last seam to connect the first and the eighth panels.
Step Four: Take the pattern of the bottom, press with steam and zigzag to the bottom edge of each panel.
Step Five: Now zigzag the last seam from the inside.

 The bowl is ready. Enjoy!
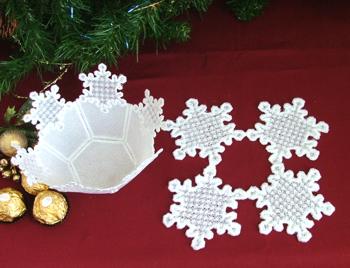
You can try this freestanding Snowflake Bowl and Doily.

For doily you need to embroider 4 snowflakes and zig-zag them together.
رابط التحميل بصيغة PES :
[ندعوك للتسجيل في المنتدى أو التعريف بنفسك لمعاينة هذا الرابط]
 الجمعة أبريل 17, 2015 10:12 pm من طرف kadamskine